Thursday, September 6, 2012

Spinning Stars

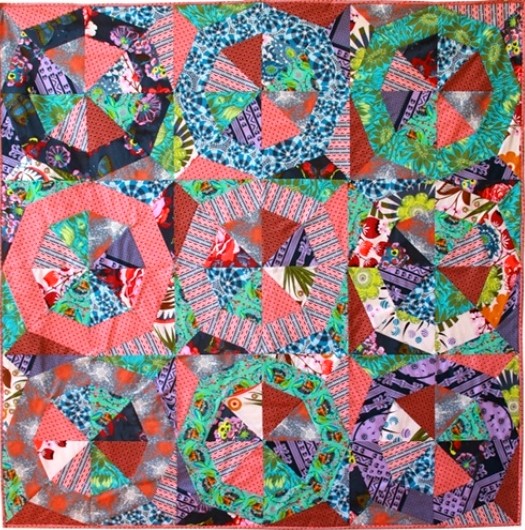
Katy over at I'm a ginger monkey is starting a quilt along for Anna Marie Horner's Spinning Stars quilt pattern, which can be found here. And here is the flickr group if you want to join in on the fun or just watch from the sidelines.

spinning stars - let's do a quilt along!
Spinning Stars quilt by: Anna Marie Horner
The pattern is great but I despise cutting out fabric with templates. I designed a foundation paper piecing template instead. The original pattern makes an 18" block. Mine will make a smaller 15.5" block (you can't fit a foundation paper piecing template for the larger block on 8.5 x 11" printer paper).

Here is my template:
Spinning stars paper piecing template
You need to print out 4 copies for one completed block.

Here is a good tutorial for foundation paper piecing if you are new to it. I also talk about it here in my honeycomb block tutorial.
Verykerybery has also come up with a template that will make a 12 inch completed block. It contains instructions for how to enlarge it to make the full sized block.

I gave it a test run with some fugly fabric from my stash:

You know the template is good when it makes even icky fabrics look somewhat OK

 Here is what the back should look like. I removed the paper on the seam and will remove the rest of the paper once I finish a completed block.

Now to try it out with the fabrics I intended for the quilt. Warning: some fabric selections subject to change in the final product ;)


Happy piecing!

Wednesday, September 5, 2012

WIP Wednesday

WIP Wednesday at Freshly Pieced


This weekend was a sewing frenzy and my WIP list is considerably smaller. To look at my most recent finished projects see here.

Right now I am tackling the quilting of Scrappysaurus Rex. See you can quilt a mammoth on a dinky machine. But I wouldn't say no to a fancy machine. Hint. Hint.


I have also cut out some fabrics for a quilt for a friend who is getting married. It will be a roller rink quilt. with blues and greens.

Here is a WIP I didn't know I had. This was casually placed on my sewing table yesterday morning. 


My dog (Leuko the fluffy) chewed through the foot strap on my husband's shin guard. He has a soccer game tomorrow night so...any ideas on how to fix it?

There's not much else going on. I have a few fabric piles set aside for future projects and I am looking forward to a craft day this weekend with K over at Crafternoon Delight. Linkin' up with Freshly Pieced. Happy Wednesday folks.


Monday, September 3, 2012

Happy Labor Daybor

I hope everyone is having a restful Labor Day (sounds like an oxymoron). I had a lot of quality time with my sewing machine this weekend, which means I have lots of finished projects to share.

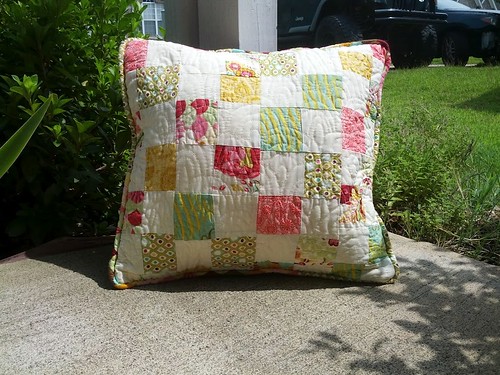
First is a pillow that sat unquilted for a long while. It is made with the scrap blocks from my parisville chevron quilt. I quilted it using an echo rainbow quilting pattern. I found it on the free motion quilting project website. If you haven't been there, please check it out. I piped it with more parisville and then backed it in a dark purple.

parisville pillow

Again, true to my leave no scrap behind philosophy, I have another set of triangular scraps that will make a companion pillow one day.

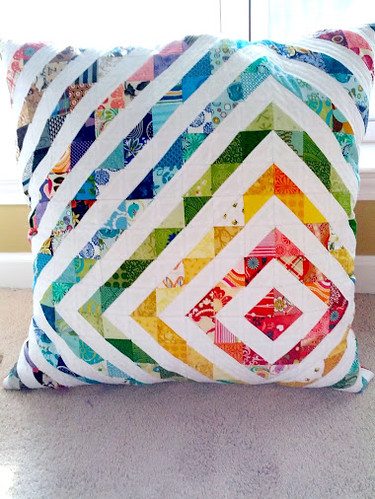
I finished the HST pillow. It's huge, 24 inches square. I quilted the white parts with matching thread. I didn't want to make the colored triangles any busier. It makes me very happy.

HST pillow

 I have another pillow just like it to recover. Hubs wants another one just like this, I said maybe. I would be more inclined to do so if he would square up all the HSTs...

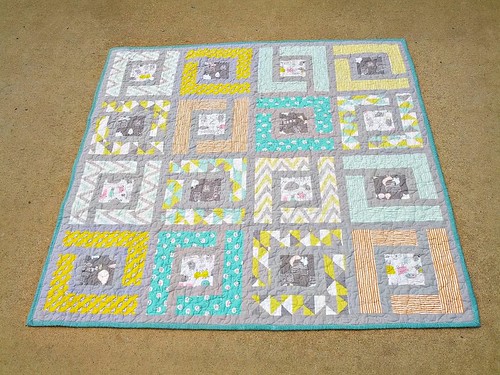
I also finished the simpatico monsterz baby quilt. To follow the progress see here and here. I just love this soothing palette.

Simpatico Monsterz - front

Note to the reader - that is not a dirty carpet, it is my concrete driveway. My hubs thought it was our floor and did not want you to think we don't vacuum. In other news, we don't sweep our driveway, but who does?

Quilted with some loopy FMQ action... zoom....

holding hands is the bestest

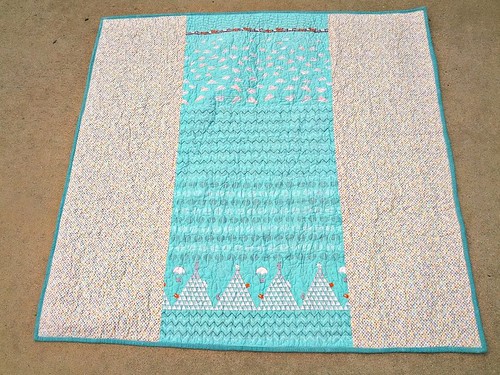
Here is the back. A monsterz panel flanked with a dot fabric. Still not sure what line it is. The selvedge only says that it came from fabrics.com but I bought it at my LQS. I bound it with a teal blue solid by Sandy Gervais for Moda. It is super silky soft and a bit darker than the monsterz teal. I used a zig-zag stitch to make it super baby friendly (you can see that a bit better a few photos down). This quilt can be washed a lot and will just get softer. 

Simpatico Monsterz- back


This is my favorite part of the back. A little orange monster is peaking out from the dots. Aaah so cute.


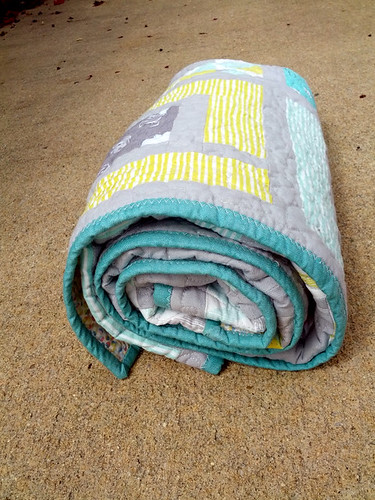
This quilt is all rolled up and ready to be shipped. That is the part that takes the most time for me, yeah driving to the post office. Good thing the baby is not due until December.

Simpatico Monsterz

Back to reality tomorrow. Boo.

Sunday, September 2, 2012

Bargello, Bargello


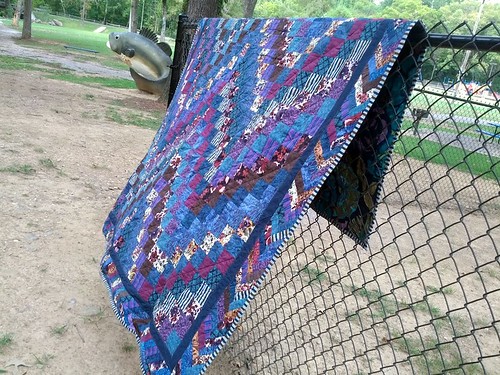
My mom came to visit in May. She wanted to watch me make a quilt so she asked me to make her a quilt for her bed. I am going to visit her in early October and will be bringing this beauty in my suitcase:

Bargello in the breeze

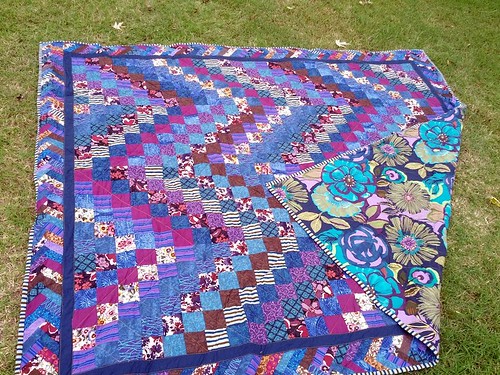
The top is a bargello pattern with a braided border and stripy binding. We went to Joann's while she was here and she picked out all the fabrics with only a little guidance from me on the type of fabrics and how to match complementary colors and patterns. She really wanted blues and browns. I added in purple and a bit of gray.
  
Bargello
The bargello came together really fast. I used this tutorial and started with 20 x 3 inch strips. There are about 14 half yards of fabric in the top. I made the braided border using the leftovers from the bargello and any complementary scraps I had. As you may have figured out by now, I make a game out of not wasting fabric and I did really well in that aspect on this quilt. But I will NEVER (well maybe not never ever) make another braided border. It took sooooo long because it can't be chain pieced efficiently. I had to sew one strip on, press it and then add the next one and repeat, boring! The pieces were 1.5 x 4" so it took quite a lot of them to make the border pieces. 

Between the bargello and the border is a bit of Kona navy just to break up all the patterns. The back is a really pretty big print fabric I found at Joann's. It goes well with the front. I added in a strip leftover from making the bargello and framed with more navy.

Bargello
Close up of the back before quilting

It was quilted pretty simply. I went along the blocks in a diagonal pattern using gold gutermann thread. PS. I quilted this monster with a Singer Simple sewing machine so you can too!

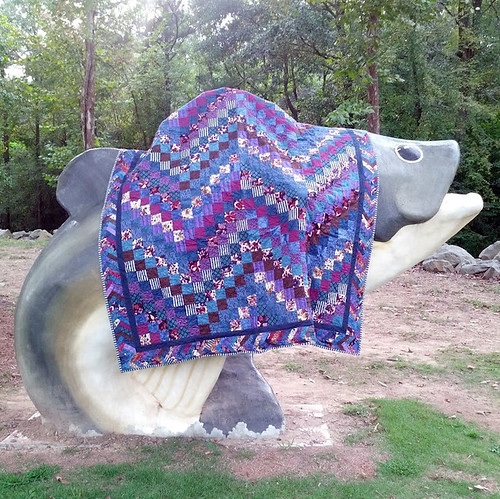
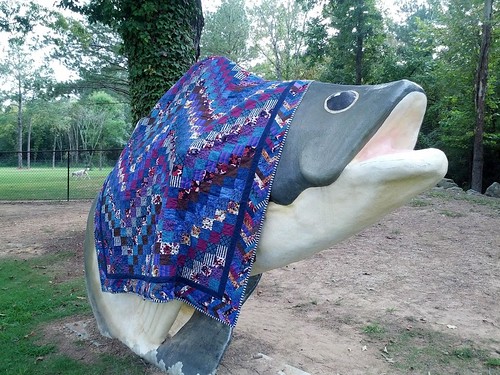
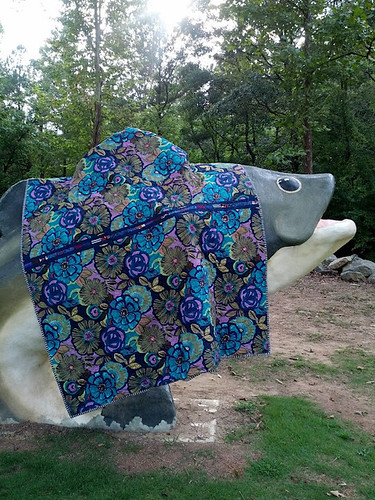
You may have noticed the giant fish in the background of the first picture. Go ahead, I'll wait while you scroll back up..... Ok you back now? For some reason the playground by my house has a bunch of large fiberglass animals around placed at random. This guy is just by the creek. You can understand why I had to take this quilt to the playground and get a fishy photoshoot.

Bargello keeps fishy warm
beautiful dahling!
Fishy approved Bargello
Smizing like a pro
Bargello on a fish!

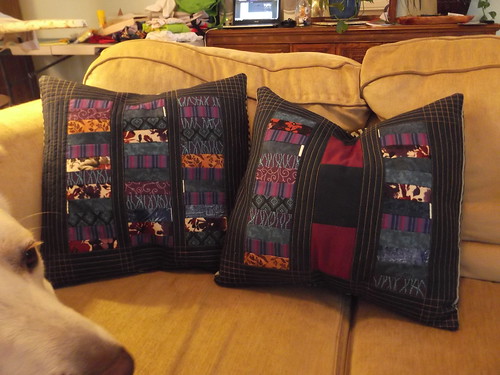
With the last remaining scraps from the braided border I also made two pillows as a surprise. I can't wait to see how this looks on her bed!

Bargello quilt scraps pillows
Leuko approved!

bargello scraps pillow
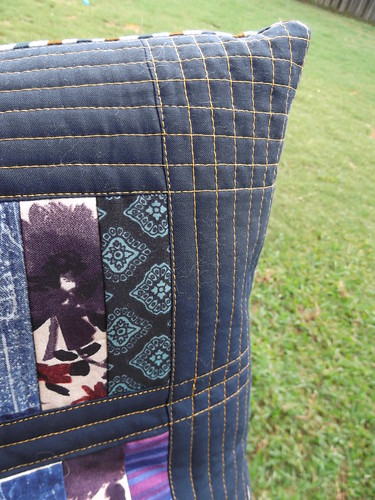
Close up of the quilting. Love the gold thread on navy.

I hope you all are enjoying the long weekend. I'll post tomorrow about all the sewing I got done this weekend.

I'm linking up with Lily's Quilts small blog meet and fresh sewing day. Go check it out!

Lily's Quilts

Lily's Quilts


Friday, August 31, 2012

Philisophical Pfridays

I thought I would take a moment this Friday to talk about quilt layouts. Specifically about changing your layout once you already planned it. 

Original (pretty traditional) layout:


I sewed all the blocks into rows and then started sewing the rows together. After pressing I decided to play around with a few alternative layouts. 

This one is pathway-ish

I really like where this one was headed. Lots of small focal points with radiating zig-zags

In the end I decided to go with the original design, but it was liberating and a lot of fun to play around with the strips. I now have lots of ideas of what to do next with HSTs. I think sometimes I put so much effort into the planning and cutting of the quilt subunits that when it comes time to put it all together I just go ahead without playing around first.

How about you, do you...
plan a layout and stick to it?
start with a layout and then modify throughout?
just improvise?

Also, I'm curious, what would you have done with these blocks stuck with the traditional design or gone wild?

Thursday, August 30, 2012

Across the Square, A Block Tutorial


This block is pieced together log cabin style. The fun part is alternating dark and light fabrics to make the center cross.

The Specs:
12.5 x 12.5 inch square
All seams are 1/4 inch and pressed open
Beginner difficulty level

The Fabrics (all are from connecting threads except the dark gray):
dark gray- Kona gray
light gray- silver lining
dark yellow- morse code
light yellow- not exactly sure but its a floral print
dark purple- mirage iris
light purple- mirage lilac

As an aside, I am still on the fence on the mirage line. I think you have to be really careful with them to make sure the finished block or quilt does not look muddy. When used correctly I think they make good solid-but-not blenders.

1. Cut your fabric:
You will need only one 2.5 inch light gray square and one 2.5 x 5 inch light yellow strip. For all other fabrics cut two pieces of each.

2. Piece the center 9-patch


Sew the two light yellow 2.5 inch squares to the light gray 2.5 inch square

 Sew the two dark yellow pieces to the light yellow piece and cut in half across the strips 
(see the next picture).

Piece the two outer rows to the center row.

3. Make the middle and outer square "logs"

Cut the middle square logs into two 2.25 inch strips

Cut the outer square logs into two 2 inch strips

4. Assemble the block


Press the final seams open and if necessary trim to 12.5 inches square. 


I hope you will find that it's a very versatile block. It is also a great way to use a jelly roll, just make each "log" individually instead of the way I did it in step 3. 

Here is a quilt mock up of this block. Doesn't it look fun!


Here are the measurements to make a 19 inch square based on my faux pas (but it makes a great pillow!)

Center 9-patch
Use the same measurements as above 

Middle square
two 5.75" x 15.5" dark gray
one 2.5" x 15.5" light gray
Sew together as before and cut into 3.75" strips

Outer square
two 9" x 15.5" dark purple
one 2.5" x 15.5" light purple
Sew together as before and cut into 3.75" strips

If you use this tutorial I would love to hear about it, especially if something is not clear. Happy piecing!

Wednesday, August 29, 2012

WIP Wednesday - WIPped by HSTs

WIP Wednesday at Freshly Pieced

This week I tackled all those HSTs leftover from the Arkansas crossroad blocks in my Scrapasaurus Rex quilt.
284 HSTs freshly pressed

Trimmed to 2 inches and sorted by color

My poor rotary cutter next to scrap mountain.

These will be used to recover this sad, sad pillow. And horrors, I have another one just like it. I swear it didn't look so sad when I bought it.

Cypress and Leuko fight over who hates the pillow more.

Here is the layout andI already started to piece it because it will not last long in this state on the table.

In other WIP news...
1. I still need to quilt the simpatico monsterz baby blanket

2. I started to cut the fabric for a quilt for a friend's wedding
3. I am writing up another block tutorial

I leave you with the tiniest HST in the world. Maybe the borrowers can use it for a ultramini quilt?