
A new cover has been on my to do list for a long time now. The last straw was when my old cover refused to stay on the board because the last bit of elastic gave out. I whipped a new one over the weekend using these pretties:
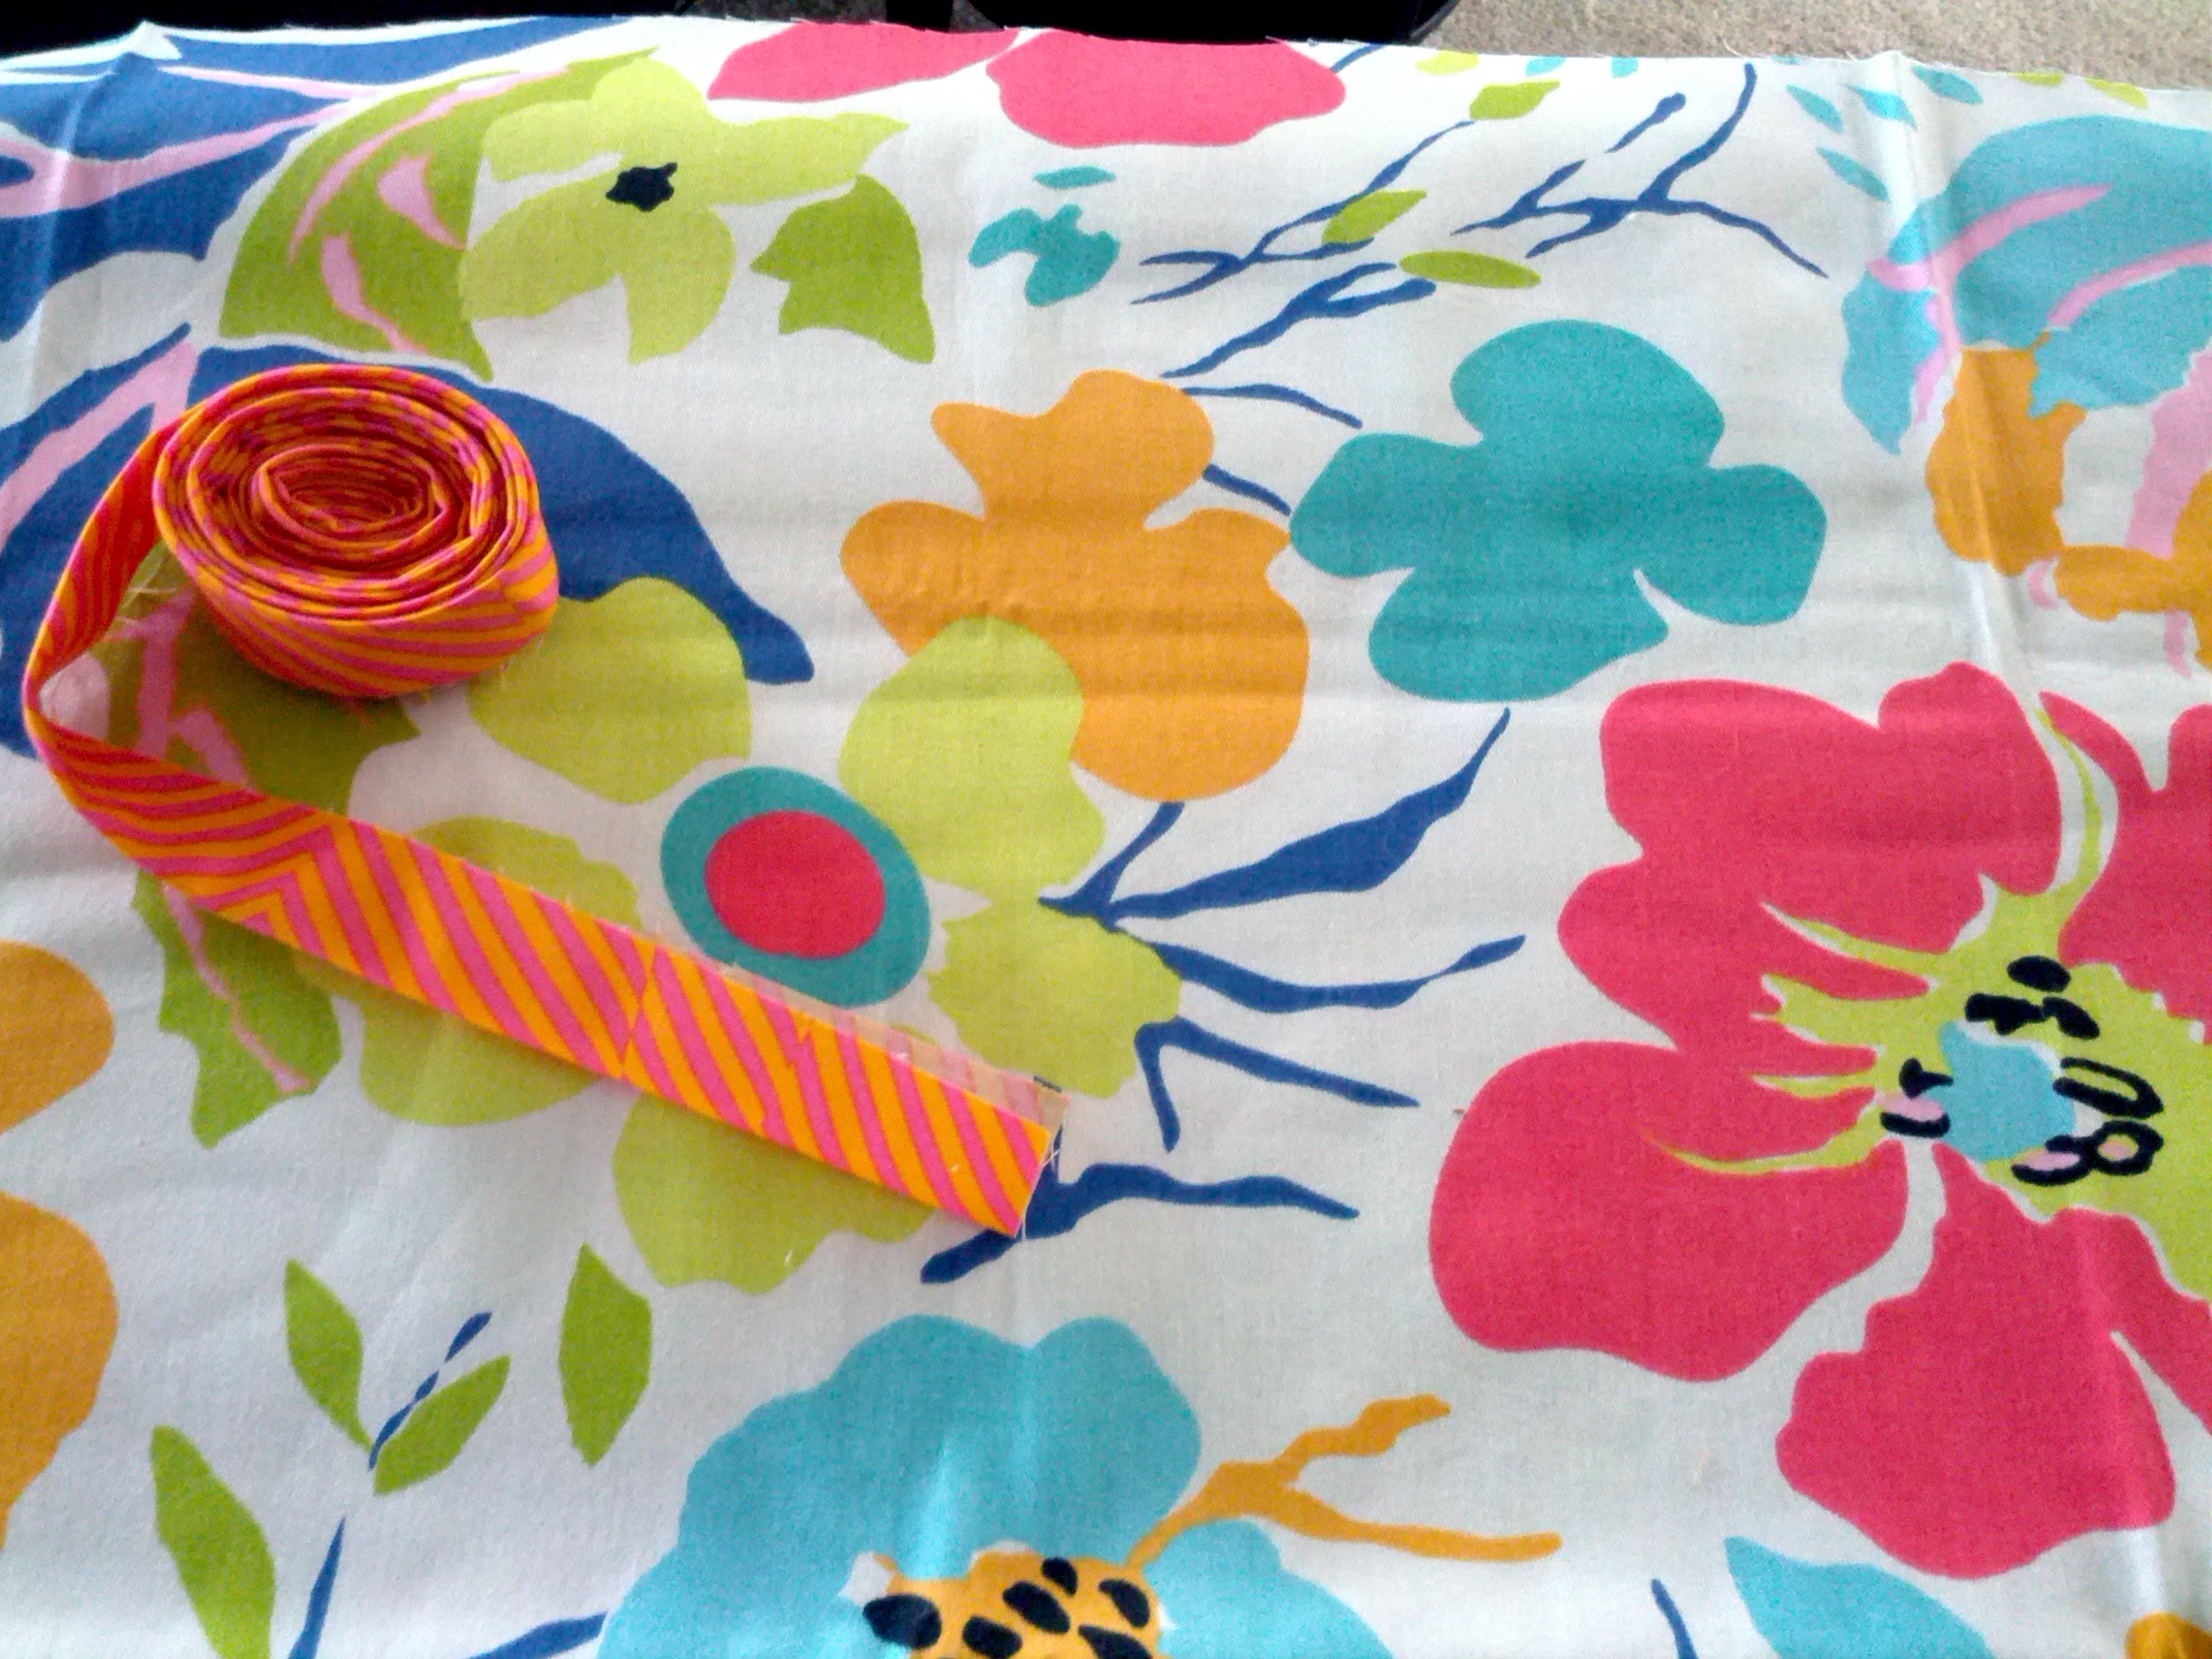
The print is a home dec weight fabric that I have had in my stash for two years (read: I have no idea where it is from) and I chose the birds and the bees stripe for binding/elastic casing. EDIT: You can use quilting weight cotton for the cover. I used the home dec fabric because it is wider. With the home dec fabric, I was able to make my cover using 1/2 yard of fabric. If I had used standard quilting weight cotton I would have had to cut into some fabric that was longer than one yard. The home dec fabric was a lot less cutting and waste.
I loosely followed a tutorial from Sew Much Good. I made a few changes. 1) I didn't cut my binding on the bias. Sheer laziness and it worked just fine. 2) I used a drawstring weight twine instead of 1/4" elastic as suggested because that is what I had on hand. 3) I sewed the binding onto the cover before adding the drawstring. Then I fed the string through the casing using a safety pin. It is more fun and you don't have to worry about catching the elastic/string when you sew (How to if you don't know what I am talking about).
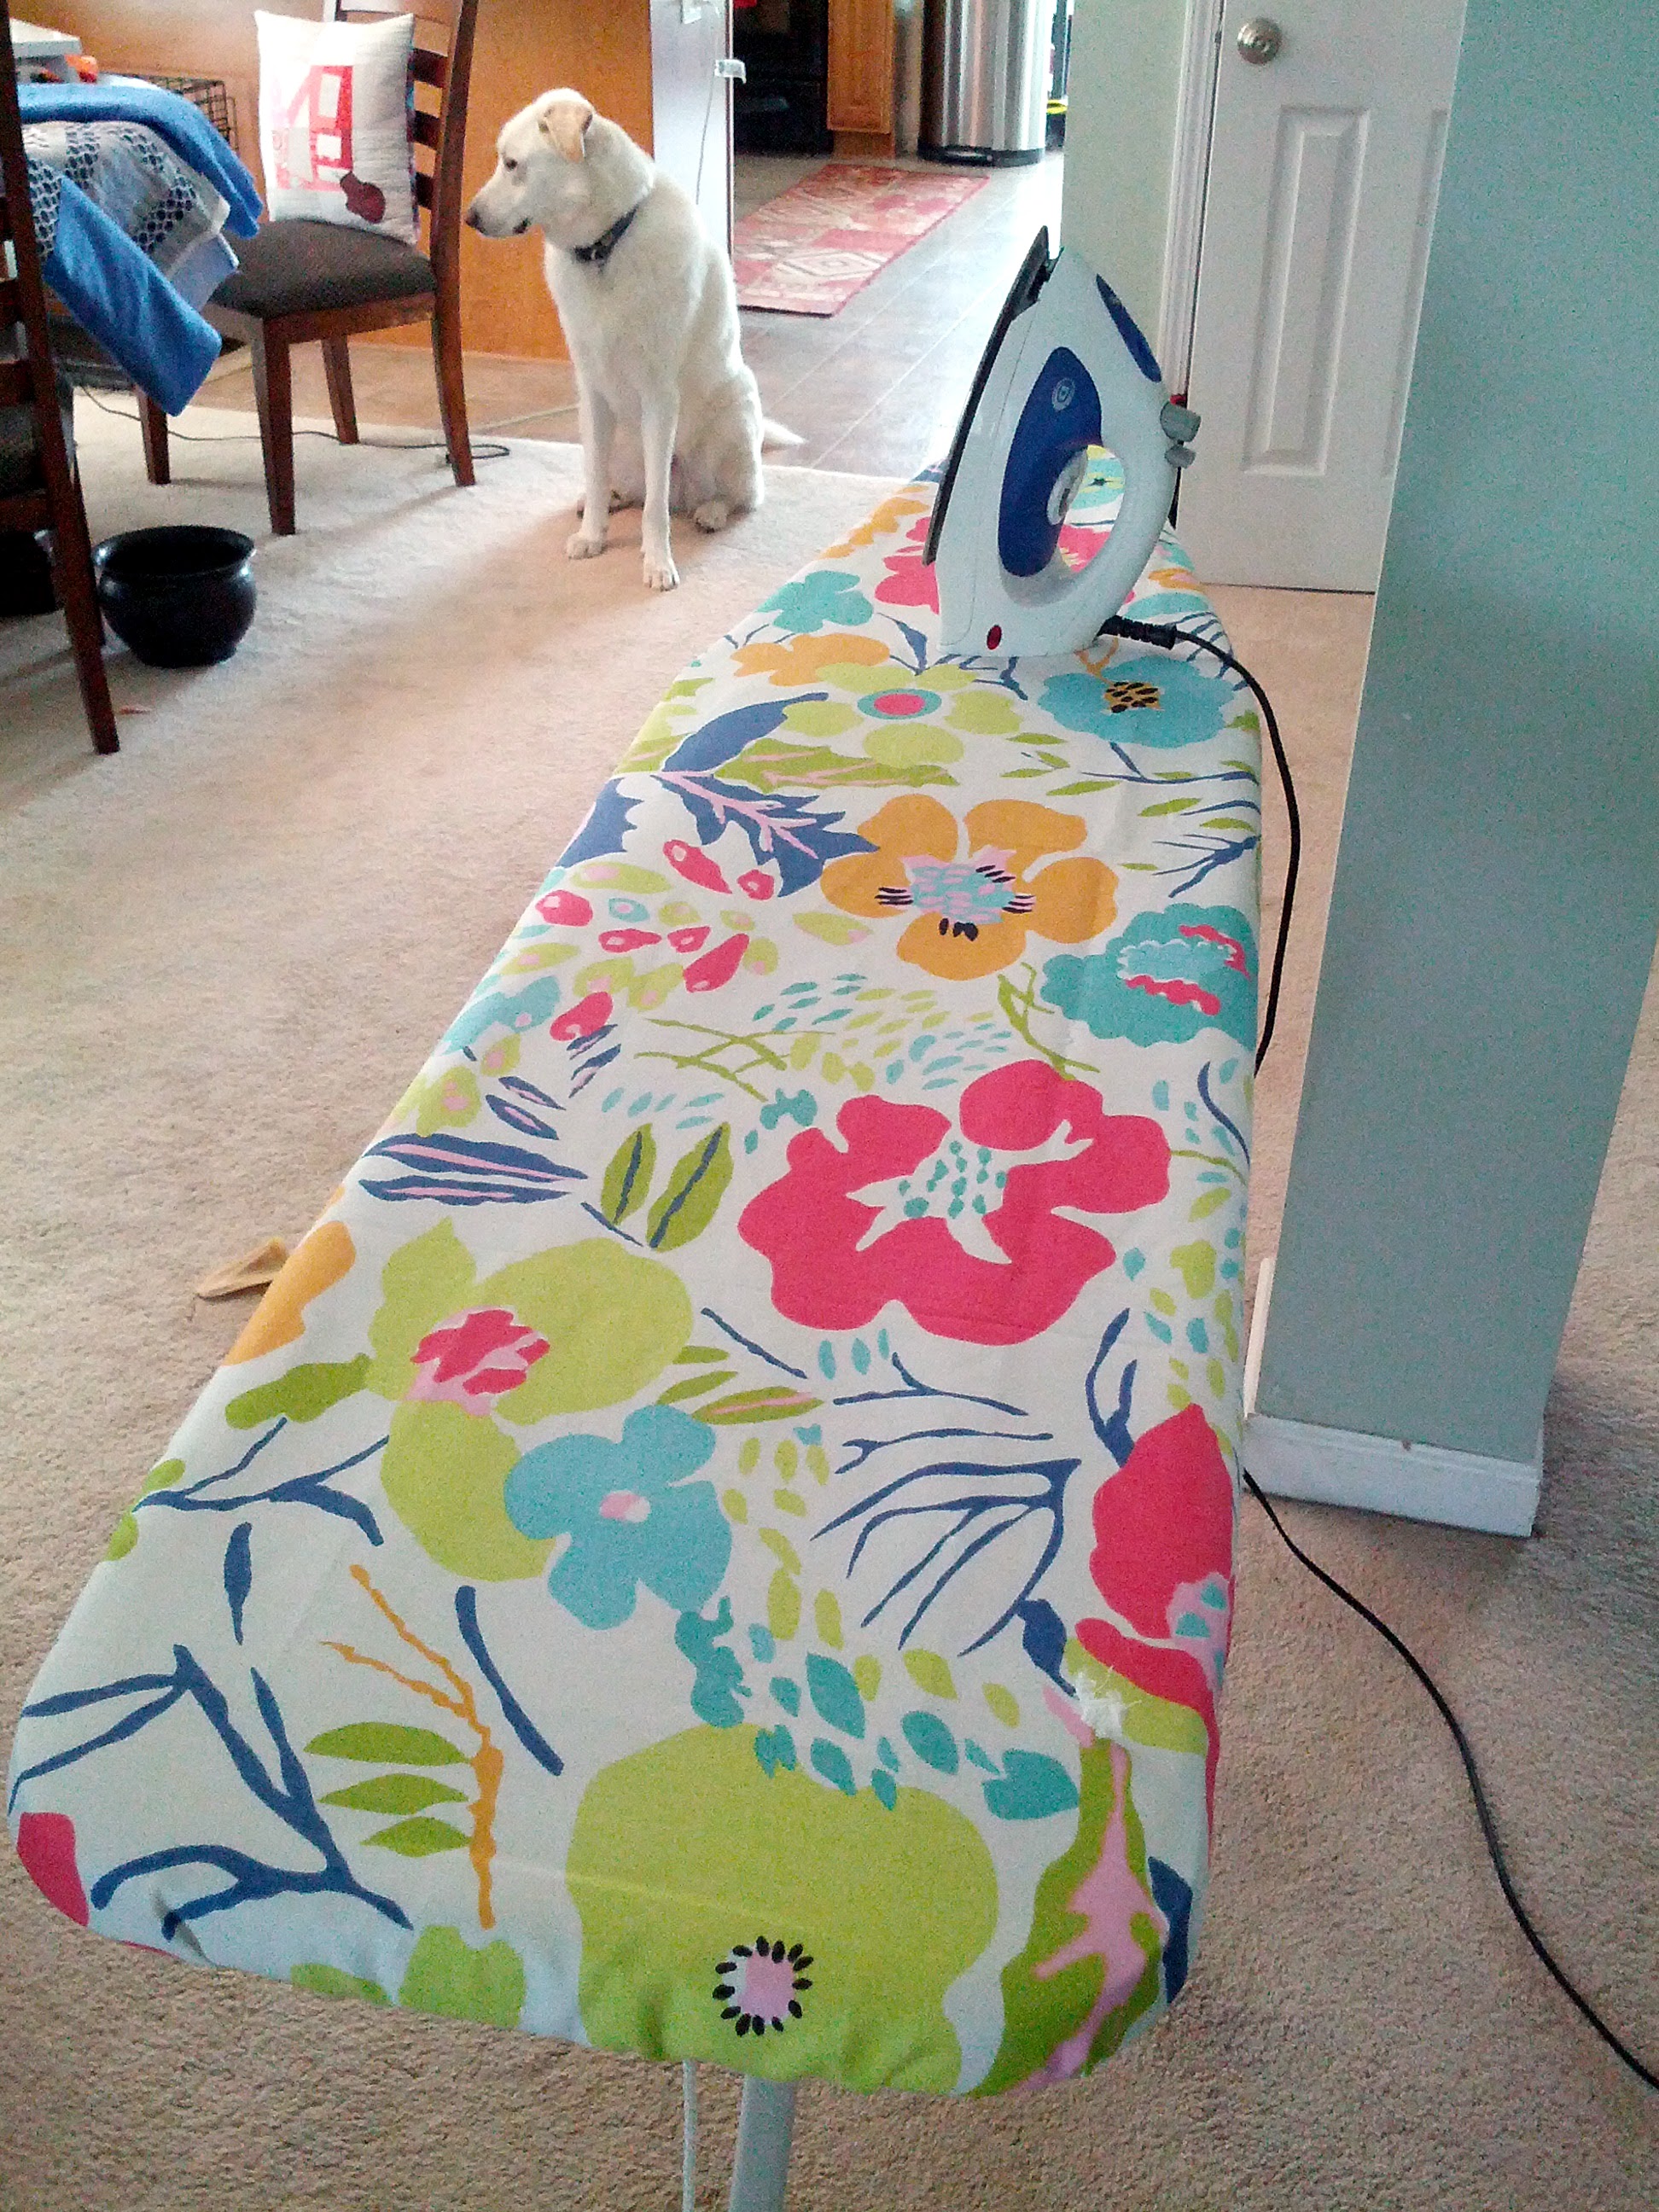 |
| Leuko plays it cool in the background |
After fitting the cover over the board I tied the drawstring tight. If you are wondering, I started the binding in the middle of the short end of the board so that I could tie it tight and not worry about strings hanging down while I am ironing. You can see one end of the string hanging from the bottom of the board in the picture above.
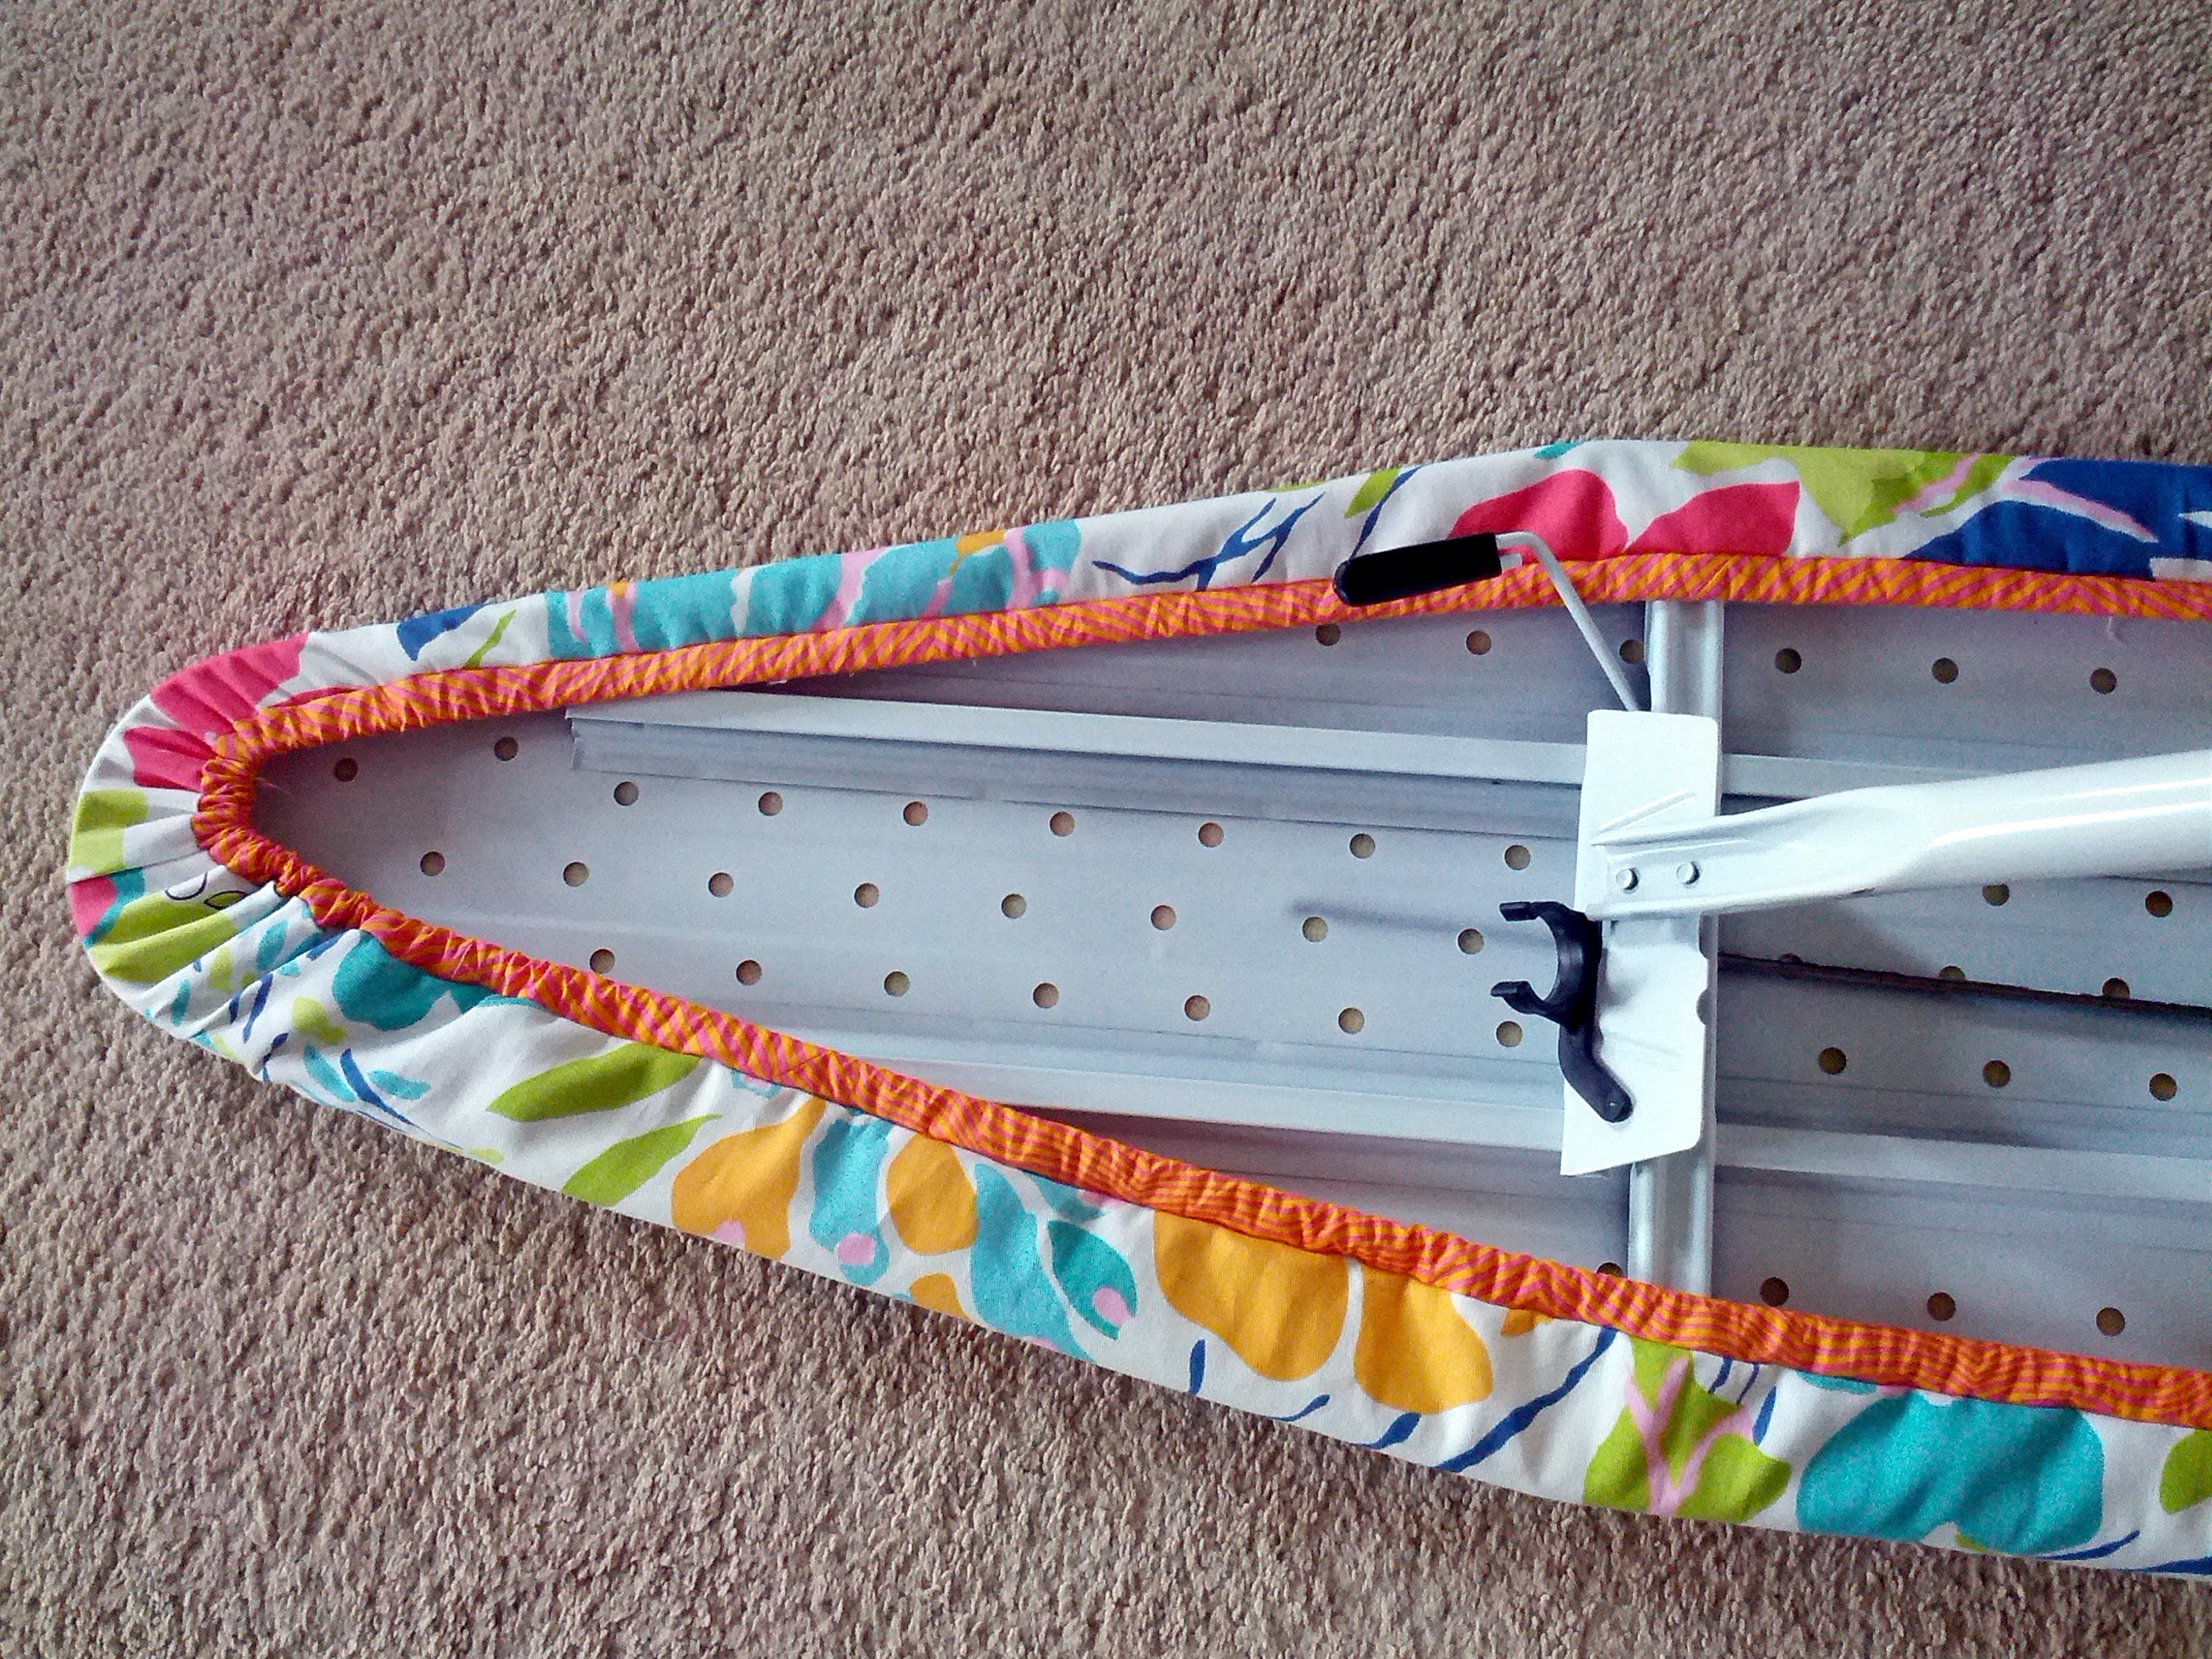
View from the bottom. The elastic would probably have given an even tighter fit but I think the drawstring is more than adequate. I haven't had any shifting issues as I have used it. And I can switch it out for elastic in the future if it becomes an issue.
Side by side comparison of the old and new. YUCK. Bye, bye crusty cover.

The whole process took about an hour and that is including the time it took to select the fabrics. It's so nice to have a cheery ironing board to look at when I press.
I hope I have inspired some of you to give your ironing board a face-lift. Please let me know if you have any questions.
Eeee so much better! I love the fabric choice. :D Also, I of course love the pup in the background lookin' mighty fine!
ReplyDeleteA food blog I read several years ago did potholder shaming. Like, the person with the grossest potholders won a prize. Somebody--SOMEBODY--should do ironing board shaming. Mine is really, really gross too. Your new cover is super-cute! I will keep an eye peeled for some home dec fabric to try it.
ReplyDeleteI love it! I recovered mine about a year ago (and added another layer of batting) and it might be time to do it again.
ReplyDeletethat turned out really pretty and awesome!
ReplyDeleteIt looks so great. I only remember our covers having drawstrings. I think you may also have confirmed my theory that Tula goes with everything :)
ReplyDelete