Want to make a super cute octagonal mat for Halloween Thanksgiving or Christmas? This tutorial will show you how to make a place mat to go under a bowl, perfect for decorating the table for any holiday or just because. I made a Halloween version to distract me from eating all the candy. It worked pretty well! Of course I meant to blog about it before Halloween but you know how it goes.

Just a disclaimer, I used some fun quilt maths to design this block but it turned out NOT to be a regular octagon. For those of you who have forgotten your geometry, a regular octagon is has 8 sides of equal lenght. The disclaimer is that I wouldn't recommend trying to make something out of multiples of this block. Instead use Elizabeth Hartman's tutorial for the octagonal orb quilt block. She must have gotten an A+ in geometry.
Octagonal Mini:
All seams are 1/4". Please read through all the directions before you start. This is a foundation paper piecing pattern and the skill level is somewhere around confident beginner/intermediate sewists.
Start with 4 pieces of 8" x 11" paper and cut it into an 8" square. Then cut along the diagonal like so,

Then mark 4" in from the top left corner and cut across that line diagonally.

You should end up with 8 pieces than can be rearranged like this. Tada you're done!


Now you will use the foundation piecing stitch and flip technique. There are lots of great tutorials about this method like Rachel's Ziggy Strings from Stitched in Color.
Take your first piece of paper right side up and lay a strip of fabric along the widest part also right side up. You can use a glue stick to keep it stuck to the paper if you so choose. Layer another strip on top right side down and sew a 1/4" seam. Use a smaller stitch length, I set my machine to 1.4, so that the paper will rip off easily later.


Here is what the back will look like:

Then press down the seam and follow the same procedure all the way down the paper until it looks like this:


Trim your block using the paper as a guide. Do the same for the other 7 pieces of paper.

Now rearrange the blocks and sew A to B, C to D etc. Then sew AB to CD and EF to GH. And finally sew ABCD to EFGH.

Then make a quilt sammich and quilt as desired. I chose to free motion quilt a spider web design. I really wish I had some glow in the dark or silver metallic thread at this point but instead I went with some good ole 40wt light gray Aurifil.

The quilting shows up nicely on the back:

Bind it. At this point I am too lazy to write a tutorial for how to bind weird angles but luckily Jaybirds quilts has one so knock yourself out. And voila there you go:

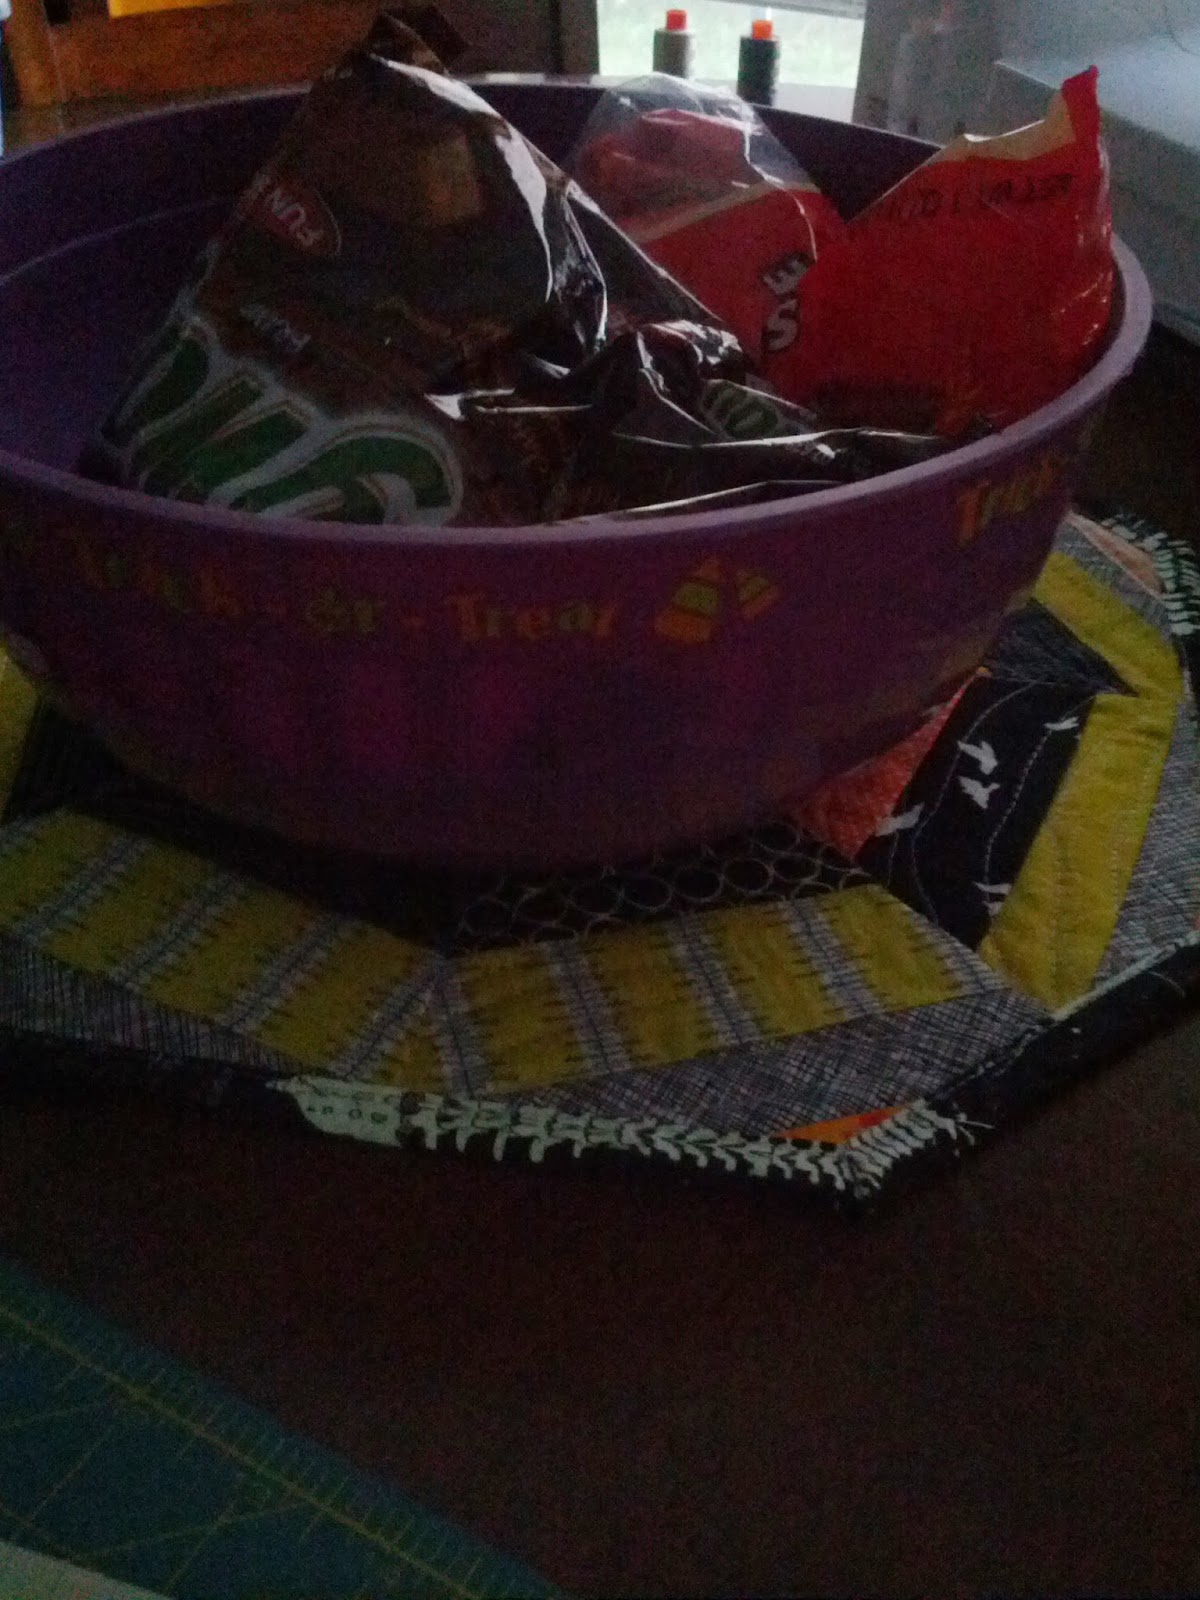
And look, I didn't even open the candy!!

Here is a shot in the "dark." I used a glow in the dark skeleton fabric for the binding and I was trying to get a good image of that but my camera phone is not exactly the right tool for that job. Either way, you'll have to trust me that it looked super cool on Halloween night!
If you make one of these mats for Thanksgiving, Christmas, Hanukkah, Festivus or for everyday use. I would love to see a picture of it!